

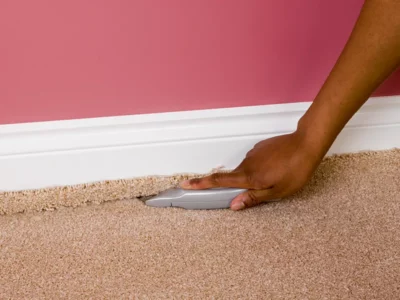
Ceiling tiles after cleaning lock in restoration work and stop rapid recontamination. Clean pores absorb sealers far more effectively than dirty ones. This makes post-cleaning the optimal sealing window. Protection stretches out the time between deep cleaning sessions and guards against stains that would otherwise soak into surfaces. Different tile materials need specific sealer types matched to their porosity and composition. https://tileandgroutcleaningsunshinecoast.com.au/ time sealer application precisely after cleaning sessions. Proper sequencing determines how well protection works and how long it lasts.
Surface drying requirements
Tiles must dry completely before any sealing starts. Moisture trapped underneath the sealer causes clouding, discolouration, and adhesion failures. Drying time changes based on the material. Dense porcelain dries within hours. Porous natural stone needs a minimum of 24-48 hours. Humidity and ventilation affect drying speed considerably. Professionals test moisture levels with meters rather than making assumptions. Sealing too early ruins the application and wastes expensive materials.
Air circulation speeds up drying substantially. Fans help in enclosed spaces. Dehumidifiers help in humid climates. Tiles in direct sunlight dry faster, but heat too much, complicating sealer application. Even though outdoor sealing takes longer, cooler evening hours work best. Application conditions matter more than rapid drying. Temperature affects sealer chemistry, too. Most products specify ideal application ranges between 50 and 80 degrees. Cold temperatures slow down curing. Excessive heat causes premature drying before proper penetration happens.
Penetrating sealer selection
A penetrating sealer penetrates grout and tile pores. They work best with natural stone, unglazed ceramic, and porous materials. Sealer particles enter microscopic pores. Once inside, they cure and block water or stain penetration from occurring. Surface appearance stays natural. Quality penetrating products cause no sheen or color change whatsoever. Choosing the right penetrating sealer depends on several material characteristics:
- Sealers must allow moisture vapor to escape while blocking liquid water
- Ceramic and porcelain are resistant to water and oil stains thanks to fluoropolymer sealers
- Use cementitious sealers rather than tile-only sealers for grout
- UV-resistant sealers are needed for outdoor installations
Cheap sealers fail quickly. A professional-grade product costs more upfront. The higher initial cost makes them economical over time.
Application technique details
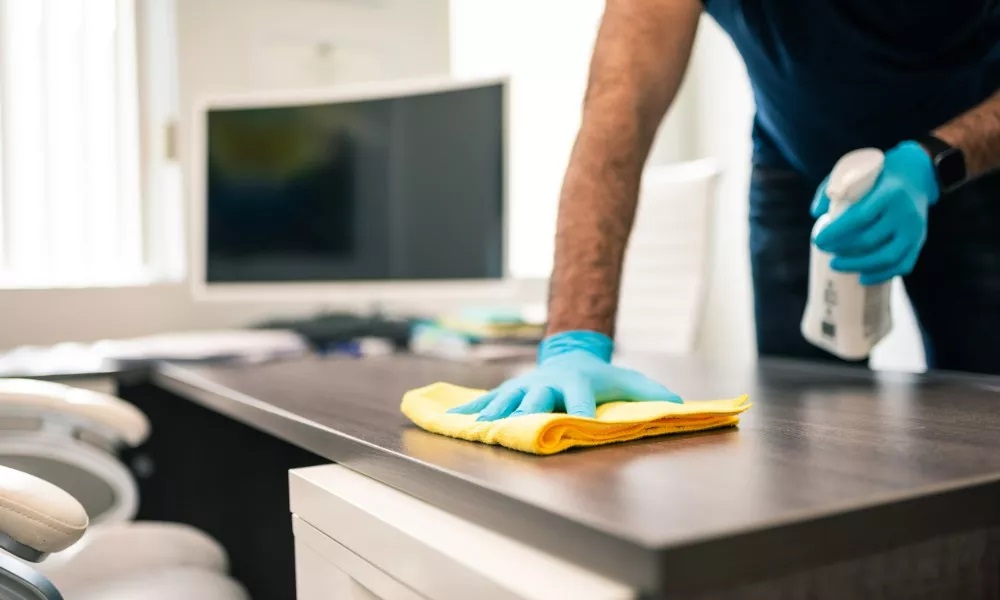
Sealer goes on grout first, then tiles afterwards. Grout absorbs substantially more sealer than most tiles do. Saturating grout lines thoroughly ensures complete protection across the installation. Small brushes or applicator bottles with fine tips let professionals control exactly where the sealer goes during application. This precision prevents waste and ensures proper coverage everywhere. Excess sealer on tile surfaces gets wiped away immediately before drying occurs. Dried sealer leaves a hazy residue requiring aggressive removal. This removal process can damage freshly sealed surfaces, unfortunately. Working in small sections prevents the sealer from drying before wiping happens. The wiping motion matters too. Circular wiping pushes the sealer out of the grout lines accidentally. Straight wiping parallel to the grout maintains seal integrity while cleaning tile faces properly.
Curing and testing
Sealed surfaces need curing time before exposure to water or foot traffic begins. Most sealers require 24-48 hours for initial cure completion. Full cure takes longer, sometimes up to a week, depending on conditions. Rushing this period causes seal failures later. Water beading tests verify seal effectiveness accurately. Drops should sit on the surface, not absorb. To provide adequate protection, additional sealer coats may be needed. A regular resealing extends the life of the seal.
- High-traffic areas need annual treatment.
- Low-use spaces go several years between applications without problems.
Professional assessment during cleaning appointments determines when resealing becomes necessary. This beats following rigid schedules unthinkingly. Proper sealing after cleaning protects the investment in restoration work. It simplifies ongoing maintenance through stain resistance and easier routine cleaning of protected surfaces long-term.


Comments